
⚡ TL;DR — Key Takeaways
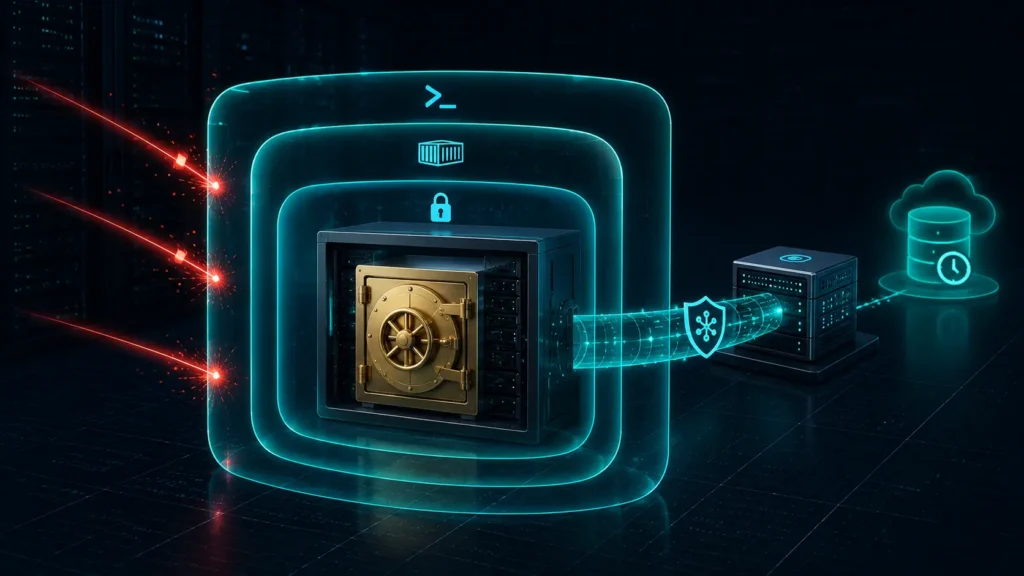
- Locking Host Interface Boundaries: Effectively securing self hosted bitwarden outposts starts squarely at the host operating system layer, as a compromised server infrastructure exposes every credential in your database regardless of how strong the application’s underlying encryption is.
- Insulating Container Runtime Environments: Hardening runtime container namespaces ensures that even if an application process is compromised, the attacker cannot escalate privileges into full root control of the underlying host kernel.
- Terminating Direct Internet Exposure: Forcing encrypted reverse-proxy traffic pipelines routes all incoming requests through an isolated validation gateway, removing direct internet exposure from your backend database containers entirely.
- Preserving Immutable Vault Backups: Establishing immutable background storage backups guarantees reliable vault recovery even if your primary production server is compromised, corrupted, or destroyed outright.
Table of Contents
Self-hosting your own credential database sounds like an excellent privacy victory on paper, removing a third-party provider from your trust chain entirely. However, turning a single machine into a high-value target without rigorous perimeter defense leaves your master vault open to brute-force automated scanning tools and host-level compromises that a managed cloud provider would otherwise absorb on your behalf.
Securing self hosted Bitwarden at the terminal layer acts as a critical line of defense that stops threat groups from gaining root-level visibility into your entire corporate identity matrix. Every password, API token, and administrative credential your organization relies on sits inside this single database, making the server hosting it one of the highest-value targets in your entire infrastructure.
Sysadmin Operational Perspective: There is a distinct, sharp wave of technical anxiety that hits you the moment you spin up your own private identity outpost on an open cloud instance. The instant that public IP address goes live, you realize you are now personally responsible for protecting every administrative password, corporate token, and master key your company owns. Every automated bot script hit in your auth logs makes your heart beat a little faster. You realize that a single unpatched kernel exploit or a slight configuration mistake is all it takes to expose your entire enterprise network. It completely changes your approach to server management, transforming basic terminal hardening from an entry-level checklist into an absolute, zero-room-for-error mission.
This hardening manual covers four tactics in sequence: hardening host-level SSH access, isolating Docker runtime namespaces, forcing encrypted reverse-proxy traffic, and establishing immutable backup and vault-shredding schedules.
TACTIC 1: HARDENING HOST INTERFACES AND BLOCKING DEFAULT ROOT SSH SHELLS
The operating system underneath your vault container is the true first line of defense. Most successful server compromises begin with weak SSH configurations rather than application-level exploits. Closing this door first is non-negotiable before any container or application-level hardening can matter at all.
- Strip Direct Root Access: Strip administrative users of direct root SSH access entirely. Require every login to authenticate as a standard user profile and elevate privileges explicitly through
sudowhen needed. This approach creates a durable audit trail showing exactly who escalated privileges and when, completely replacing an anonymous root session that carries zero tracking accountability.
- Modify Default Listening Interfaces: Change your SSH daemon’s default listening interface away from the standard well-known port. Moving this configuration drastically reduces your exposure to the constant, automated scanning sweeps that target default ports across the open internet.
- Enforce Cryptographic Key Validation: Enforce cryptographic key-only authentication schemes and disable password-based SSH logins entirely. A sufficiently long private key cannot be brute-forced or compromised the way a traditional string password realistically can.
- Deploy Automated Intrusion Prevention: Deploy an automated intrusion prevention utility like Fail2ban. Configure the service to continuously monitor local authentication logs and automatically drop IP addresses that show repeated failed login attempts within a short window. This active monitoring closes the gap between a static configuration file and live enforcement, ensuring that persistent attackers are banned automatically.
Securing these host pathways is the foundational first phase of securing self hosted bitwarden outposts, building a resilient perimeter before you initialize your application layers.
TACTIC 2: ISOLATING RUNTIME DOCKER NAMESPACES AND STRIPPING ROOT PRIVILEGES
With the host layer secured, the next tactic addresses the container runtime itself. A misconfigured container running with default root privileges effectively erases the isolation boundary Docker is supposed to provide in the first place.
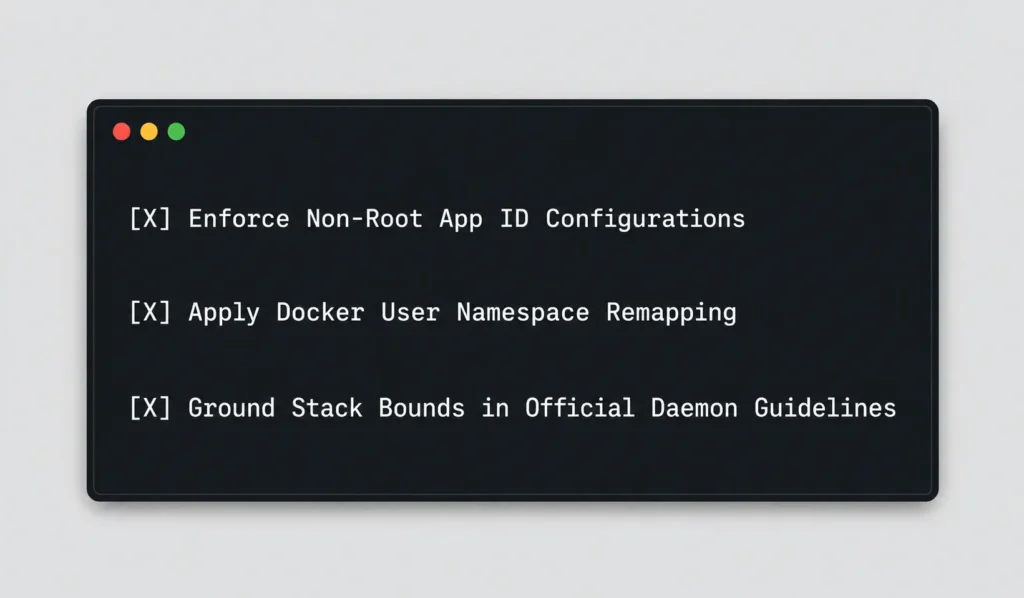
- Enforce Non-Root Application Users: Configure your deployment stack so the Bitwarden application processes run as a non-root user profile inside the container. Avoid defaulting to root simply because it is the path of least resistance during initial setup. This single configuration change means that even if an attacker successfully compromises the running application process, they inherit only the limited privileges of that non-root user, not full administrative control.
- Implement User Namespace Remapping: Apply user namespace remapping at the Docker daemon level as an additional layer. This maps the container’s internal root user to a genuinely unprivileged user ID on the host system itself.
Leaving a self-hosted container instance running with default root daemon access values is a catastrophic infrastructure risk. If an attacker exploits a single unpatched web vulnerability in your application layer, they do not just take over that isolated container sandbox. Because the process is running as root, they can instantly initiate a container escape exploit to breach your namespace limits and claim full administrative rights over your entire underlying host system. This completely exposes your server kernel and instantly compromises every single master key stored in your self-hosted setup.
When implementing this remapping, review the official Docker container security guidelines directly for the current, authoritative configuration reference. The exact syntax and best practices are actively maintained and updated as Docker’s own security architecture evolves. Taking this step is a core requirement for securing self hosted bitwarden instances, ensuring your container perimeters function as ironclad security boundaries.
TACTIC 3: FORCING ENCRYPTED REVERSE-PROXY TUNNELS AND TLS HYGIENE LAYERS
Your vault’s backend database container should never be directly reachable from the open internet under any circumstance. This tactic establishes the network architecture that enforces that separation structurally, rather than just as an assumed best practice.
- Establish a Dedicated Gateway Layer: Route all incoming traffic requests through a dedicated reverse-proxy gateway, using a tool like Nginx or Caddy positioned between the public internet and your backend containers. This proxy layer becomes the only component with any direct internet exposure, while your actual vault application and database remain isolated on an internal network segment entirely unreachable from the outside.
- Enforce Strict Modern TLS Encryption: Configure your reverse proxy to enforce TLS 1.3 exclusively, eliminating older, weaker protocol versions from ever being negotiated by a connecting client.
- Automate Certificate Management: Automate your TLS certificate renewal cycle through Let’s Encrypt, ensuring your encryption layer never silently lapses due to a forgotten manual renewal. An expired certificate can quietly degrade your security posture or interrupt legitimate access entirely.
Implementing this network separation is a massive step forward in securing self hosted bitwarden outposts, making it impossible for threat actors to query your database ports directly.
TACTIC 4: CONFIGURING IMMUTABLE AUTOMATED BACKUPS AND VAULT SHREDDING SCHEDULES
Even a perfectly hardened server can fail, whether through hardware malfunction, an undiscovered software exploit, or simple human error. This final tactic ensures your vault data survives any of these scenarios without becoming a second point of exposure in the process.
- Isolate Off-Site Backup Payloads: Automate scheduled export jobs that generate encrypted vault backup payloads and transmit them to an isolated, off-site storage target. This storage must be physically or logically separated from your primary hosting environment. This clean separation matters because a backup stored on the same server provides zero recovery value if that host machine itself is compromised.
- Purge Local System Caches: Systematically clear temporary database cache states and scratch storage paths on a regular schedule. This configuration ensures that sensitive vault data does not linger in local temporary files longer than operationally necessary.
- Protect Secondary Archives Rigorously: Treat your backup encryption keys with the same absolute security rigor as your primary vault credentials. An unencrypted or weakly protected backup archive is functionally equivalent to leaving a copy of your entire vault sitting completely unprotected elsewhere on the internet.
CONCLUSION & TERMINAL HARDENING SUMMARY
Successfully securing self hosted bitwarden outposts requires all four terminal tactics to operate as a unified framework: hardened host-level SSH access controls, isolated container runtime namespaces, encrypted reverse-proxy traffic routing, and immutable backup systems. Each independent tactic seals a distinct vector of infrastructure exposure. Neglecting any single layer leaves a dangerous, easily exploitable gap in what should be your enterprise’s most insulated credential asset.
A resilient, private vault deployment demands continuous infrastructure updates, completely replacing the high-risk “set-it-and-forget-it” habit of launching a software container and leaving it running unpatched indefinitely. Managing this identity outpost with strict operational discipline—including routine kernel patching, automated log reviews, and recurring configuration audits—is what actually justifies the structural privacy benefits that self-hosting was meant to deliver in the first place.
Hardening an open-facing credential server requires a constant balance between ironclad perimeter lockdown and administrative utility. What specific reverse-proxy configurations, server operating systems (such as minimal Alpine or hardened Debian architectures), or backup automation scripts does your team run to protect your private identity outposts? Do you run into performance bottlenecks when isolating your container namespaces, or has configuring automated certificate renewals given you the most friction? Drop a comment below and share your technical roadmap—let’s swap terminal commands and secure our data footprints together!
Related: Navigating GDPR for Startups Using 5 Rigid Privacy Controls – 5 engineerable privacy controls to keep GDPR compliance out of your policy drawer and inside your codebase — before a fine (or a stalled acquisition) does it for you.
The Cisco State of AI Security 2026 Report Summary Documenting Core Model Vulnerabilities – An authoritative threat intelligence breakdown of the Cisco State of AI Security 2026 report, detailing severe multi-turn model vulnerabilities, critical Model Context Protocol (MCP) sandbox escapes, and the new open-source scanners built to secure production AI agent workflows.
Conducting an ISO Internal Audit via 4 Clean Checklists – Conducting an ISO internal audit helps organizations identify gaps, verify compliance, strengthen controls, and drive continuous improvement before external certification or surveillance audits.
5 Steps for Deploying Open Source Guardrails to Stop Deadly AI Exploits – A practical five-layer open-source guardrail strategy to protect autonomous AI agents from prompt injection, data leakage, session abuse, and other runtime exploits.
FREQUENTLY ASKED QUESTIONS (FAQ)
Q1. Should I self-host the official Bitwarden server, or use Vaultwarden, the popular unofficial lightweight alternative?
Both server implementations can be effectively secured using the exact same four tactics detailed in this guide. The overall infrastructure safety posture—spanning host protection, container namespacing, network isolation, and backup management—remains identical regardless of the codebase you run. Vaultwarden requires far fewer system resources and is ideal for individual deployment or small-team testing, whereas the official Bitwarden stack is generally preferred by larger enterprises requiring official vendor support channels.
Q2. How often should I actually test restoring from my encrypted backups, rather than just assuming they work?
You should execute a full database restore test at least quarterly, ideally leveraging a completely isolated virtual machine rather than testing against your active production instance. A backup file that has never been successfully deployed during a mock rehearsal is simply an unverified assumption, not a true safety net. Many teams only discover a corrupted partition or an incomplete backup archive during an active emergency—which is precisely the moment you cannot afford that discovery.
Q3. Does putting my vault behind a reverse proxy protect me from vulnerabilities in the Bitwarden application code itself?
No. A reverse proxy exclusively hardens your network layer by shielding your backend database ports from direct exposure and enforcing modern TLS protocols. It cannot patch, identify, or insulate against a genuine exploit inside the vault application’s primary code. To maintain a resilient defense-in-depth posture, you must continuously apply upstream Bitwarden or Vaultwarden version patches alongside your terminal configuration controls.
Q4. Is it safe to run my self-hosted vault on the same server as other unrelated applications or websites?
This architecture is not recommended. A critical software vulnerability inside a completely unrelated application or a public website hosted on that same server can be weaponized by an attacker to move laterally toward your vault container. Allocating a completely dedicated machine—or at a minimum, a strictly isolated virtual machine dedicated exclusively to your credential database—massively minimizes this shared-blast-radius risk.
Q5. What happens to my ability to access the vault if my hosting provider suddenly goes down or suspends my account?
This exact operational scenario is why off-site, encrypted backups are mandatory beyond standard cyberattack recovery. A cloud provider outage or an unexpected account suspension can block business continuity just as severely as a security compromise. Maintaining a verified, independent backup that can be instantly stood up on a completely separate hosting provider ensures that a single vendor relationship never becomes a single point of total failure for your corporate credentials.
DISCLAIMER
Educational Notice: This article is published on AI Security Watch strictly for technical educational and general cybersecurity awareness purposes. The configurations and research discussed are based on public threat intelligence data. This content does not constitute professional IT architecture, legal, or financial advice. Because network configurations vary, always verify settings in an isolated test environment or consult with a qualified engineer before modifying live hardware or registries. AI Security Watch contains informational links to external resources; we are not responsible for third-party site accuracy or platform content.