
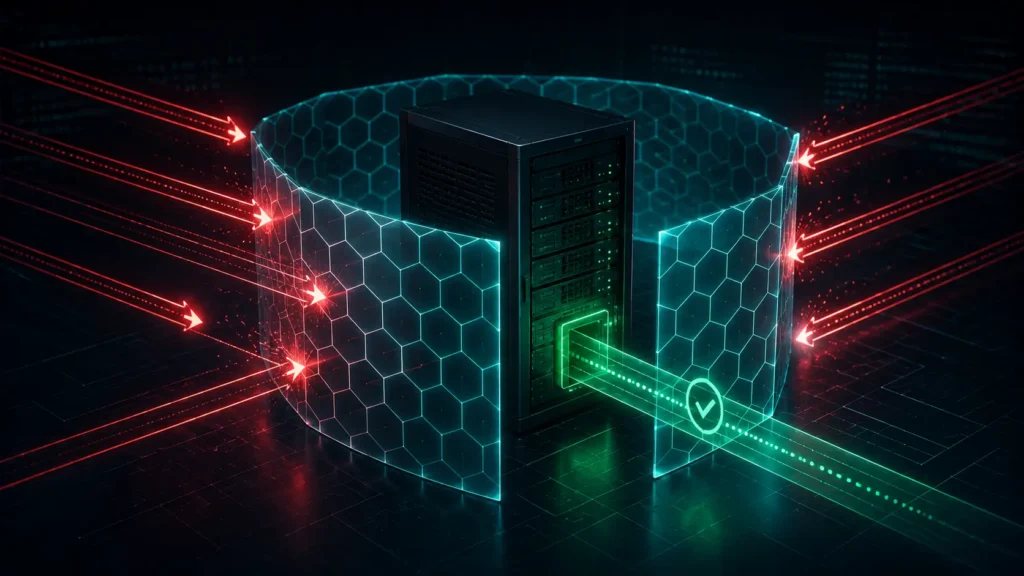
⚡ TL;DR — Key Takeaways
- The exposed socket risk: Configuring Linux firewalls to restrict external access starts with knowing exactly which ports are listening publicly, since AI daemons like Ollama or vLLM often bind wide open by default.
- Interface and subnet controls: Isolating the loopback interface and restricting inbound access to trusted admin subnets closes off the vast majority of opportunistic scanning traffic.
- Stateful tracking and logging: UFW’s default-deny policy combined with medium-level logging gives you both active protection and a forensic record of every blocked attempt.
- Docker routing conflicts: Docker silently rewrites iptables rules, which can bypass UFW entirely unless you explicitly harden the
DOCKER-USERchain.
Table of Contents
Sophos’ Exposed: Cyberattacks on Cloud Honeypots report found that one cloud honeypot was attacked within 52 seconds of going live, with the full set of honeypots hit by an average of 13 attack attempts per minute over a 30-day study across 10 major AWS regions (source: Sophos, “Exposed: Cyberattacks on Cloud Honeypots”). Separately, Palo Alto Networks’ Unit 42 deployed 320 honeypots globally and found that 80% were compromised within 24 hours, with all of them compromised within a week once exposed (source: Unit 42, “Attackers Move Quickly to Exploit Common Cloud Misconfigurations”). Automated scanning isn’t a hypothetical threat model; it’s the default state of the open internet.
Local AI orchestration engines make this risk concrete. Ollama binding to port 11434, vLLM to 8000, or Text Generation Inference (TGI) to 8080 are all common defaults, and none of them ship with authentication out of the box. A public cloud interface with one of these ports open is an open invitation to run unauthenticated inference, exfiltrate model outputs, or pivot deeper into your infrastructure.
Configuring Linux firewalls to restrict external access is the foundational control that closes this gap before anything else matters. Application-level authentication helps, but a firewall misconfiguration upstream can make that authentication irrelevant if the raw port is still reachable.
There is a deeply unsettling feeling that hits you when you open a raw system log file on a new server and watch thousands of brute-force IP addresses pounding your private ports every single hour. Seeing a continuous, automated wall of malicious script requests scrolling past your screen destroys the illusion that your server is hidden. It forces you to accept that on the open internet, your unconfigured development ports are not private assets—they are visible targets being continuously catalogued by global botnets.
This guide walks through six stages: auditing your open sockets, enforcing a default-deny policy, isolating the loopback interface, restricting access to trusted subnets, hardening Docker’s routing behavior, and setting up logging for ongoing visibility.
Stage 1: Auditing Active Sockets and Local Listening Interfaces
Before writing a single firewall rule, confirm exactly what’s currently listening and on which interface. This step catches AI daemons that have quietly bound to a public-facing NIC instead of localhost.
bash

sudo ss -tulpn
This lists every TCP and UDP socket in listening state, along with the process name and PID. Look specifically for entries showing 0.0.0.0 or your server’s public IP next to ports like 11434, 8000, or 8080.
If ss isn’t available, the older netstat command gives equivalent output:
bash

sudo netstat -pna | grep LISTEN
Any AI daemon showing 0.0.0.0:PORT instead of 127.0.0.1:PORT needs its host binding fixed at the application level before or alongside the firewall changes in the following stages.
Stage 2: Enforcing Global Default Drop Policies
With your exposed sockets identified, the next move is flipping the entire system’s default posture. Instead of allowing all inbound traffic unless explicitly blocked, deny everything unless explicitly allowed.
bash

sudo ufw default deny incoming
sudo ufw default allow outgoing
This single change is the core of configuring Linux firewalls to restrict external access correctly. Outbound traffic stays unrestricted so your server can still reach package repositories, APIs, and updates, while every unsolicited inbound connection gets dropped by default.
Don’t run sudo ufw enable yet. Enabling UFW before setting up the explicit allow rules in the next two stages can lock you out of SSH access entirely if you’re connected remotely.
Stage 3: Isolating the Virtual Loopback Interface
Local services often need to talk to each other, container to container or process to process, without that traffic ever touching the network stack. The loopback interface (lo) needs to stay fully open even while the public interface locks down.
bash

sudo ufw allow in on lo
sudo ufw allow out on lo
This ensures internal communication between processes bound to 127.0.0.1, including any AI daemon you’ve correctly restricted to localhost, keeps working normally. Nothing on this interface is ever exposed externally, so allowing it fully carries no external risk.
Confirm your loopback rule is active:
bash

sudo ufw status verbose
You should see Anywhere on lo listed as an allowed rule alongside your default deny policy.
Stage 4: Restricting Inbound Access to Explicit Admin Subnets
Blanket denial is the right default, but you still need a way in for legitimate administration. Rather than opening a port to the world, scope access down to specific trusted IPs or subnets.
bash

sudo ufw allow from 192.168.1.0/24 to any port 22 proto tcp
sudo ufw allow from 203.0.113.10 to any port 22 proto tcp
The first rule permits SSH from your internal LAN subnet; the second permits it from a specific trusted external IP, such as a home or office static address. Adjust the port and subnet values to match your actual environment.
If you need to expose an AI service to a specific internal application server rather than the public internet, apply the same scoped pattern:
bash

sudo ufw allow from 10.0.0.5 to any port 11434 proto tcp
Now enable the firewall, since your explicit allow rules are in place:
bash

sudo ufw enable
Stage 5: Hardening the DOCKER-USER Chain Against Native Bypasses
This stage matters more than most people realize. Docker manipulates iptables directly when it starts containers, and it does this in a way that can silently bypass UFW rules entirely, regardless of how carefully you configured Stages 2 through 4.
Let me hand you an explicit warning about a massive security flaw that catches countless SysAdmins off guard: Docker is a firewall silent-killer. When you spin up a container and publish a port mapping like -p 11434:11434, Docker bypasses standard UFW logic completely by injecting its own routing rules straight into the raw iptables ruleset ahead of your configurations. Your regular UFW status dashboard will confidently report that the port is securely blocked, while your container remains entirely exposed to public web traffic. You must use the DOCKER-USER chain to prevent this silent override.
Docker inserts its own chains ahead of UFW’s rules in the FORWARD table, meaning a container with a published port can be reachable from the internet even while UFW reports it as blocked. The fix is adding your restrictions directly to the DOCKER-USER chain, which Docker respects and doesn’t override.
bash

sudo iptables -I DOCKER-USER -i eth0 ! -s 192.168.1.0/24 -j DROP
Replace eth0 with your actual public network interface name, confirmed via ip a. This rule drops any forwarded traffic hitting a Docker container from outside your trusted subnet, regardless of what port mapping the container itself exposes.
Persist this rule across reboots using iptables-persistent:
bash

sudo apt install iptables-persistent -y
sudo netfilter-persistent save
Stage 6: Establishing Stateful Logging and Telemetry Alerts
A firewall without logging tells you traffic was blocked, but not by whom, how often, or from where. Enabling logging turns your firewall into a forensic tool, not just a barrier.
bash

sudo ufw logging medium
Medium-level logging captures blocked and allowed packet events without the excessive volume of “high” or “full” logging levels. Review the logs directly:
bash

sudo tail -f /var/log/ufw.log
For ongoing visibility without manually tailing logs, pipe blocked connection attempts into a simple alerting script or a log aggregation tool like fail2ban, which can automatically ban IPs showing repeated blocked attempts:
bash

sudo apt install fail2ban -y
sudo systemctl enable fail2ban --now
Conclusion
Configuring Linux firewalls to restrict external access isn’t a single command; it’s a layered process covering socket auditing, default-deny policy, interface isolation, subnet restriction, Docker-specific hardening, and logging. Skipping the Docker stage in particular leaves a gap that undermines every other rule you’ve set.
Network-level isolation is foundational for a zero-trust AI deployment strategy. Application-layer authentication matters, but it only works as intended when the firewall beneath it is actually doing its job, not silently bypassed by a container runtime you forgot to check.
Securing your infrastructure requires looking past basic web dashboards and deeply understanding how your system handles raw packet routing. What specific firewall tools and system architecture patterns do you utilize to secure your edge instances? Do you lean heavily on native Linux ufw configuration arrays, deploy raw upstream hardware firewalls via your cloud provider dashboard, or enforce access perimeters using automated intrusion prevention tools like Fail2ban? Drop a comment in the box below and let me know your production-hardening preferences—let’s share our routing rules and build safer systems together!
Related: Check If Your Personal Emails Were Leaked in 4 Hardened Steps to Neutralize Cyber Risks – Find out whether your email has been exposed in a data breach—and follow four practical steps to lock down your accounts before leaked credentials become a bigger security threat.
Input Sanitization for ChatGPT API in Node.js Using 4 Hardened Layers to Stop Injection Risks – A four-layer, code-level guide showing Node.js developers how to sanitize user input before it reaches the ChatGPT API, using type validation, length limits, regex blocklists, and structural role isolation to block semantic prompt injection.
3 Steps to Password Protect Llama 3 Web UI Safely – Learn about how to secure your Llama 3 Web UI with a three-layer defence: localhost isolation, hashed credentials, and Nginx authentication.
A 3-Step Guide to Opting Out of Adobe AI Content Training Terms – A step-by-step guide to opting out of Adobe AI content training by locking down the Content Analysis toggle, account privacy dashboard, and desktop app telemetry to protect your creative work.
Frequently Asked Questions (FAQ)
Q1. Will these firewall rules work the same way on firewalld or iptables directly, or are they specific to UFW?
The underlying logic (default-deny, interface isolation, subnet restriction) applies to any Linux firewall tool, but the exact syntax differs. On firewalld, you’d use firewall-cmd --set-default-zone=drop and zone-based rules instead of UFW’s ufw default deny commands, though the DOCKER-USER chain fix stays identical since it’s raw iptables either way.
Q2. What happens to existing SSH sessions when I run sudo ufw enable after setting the default-deny policy?
Active sessions typically stay connected since UFW applies rules to new connections, but this isn’t guaranteed across every configuration, which is genuinely risky if your SSH allow rule has a typo. Always test in a separate terminal window before closing your original session, and consider a cloud provider’s console access as a backup in case you get locked out.
Q3. Do I need to repeat the DOCKER-USER hardening step for every new container I deploy, or is it a one-time setup?
It’s a one-time setup at the host level, since the DOCKER-USER chain applies globally to all Docker-forwarded traffic, not per-container. New containers you deploy later are automatically subject to the same rule without additional configuration.
Q4. If I’m running Kubernetes instead of plain Docker, does the same DOCKER-USER chain issue apply?
Not directly, since Kubernetes typically uses its own networking layer (like Calico, Cilium, or kube-proxy) that manages iptables or eBPF rules differently than standalone Docker. You’d need to apply equivalent network policies at the Kubernetes CNI level instead of relying on UFW or the DOCKER-USER chain.
Q5. How do I know if my current firewall rules are actually working, versus just assuming they are because I ran the commands?
Run a port scan against your own server from an external network or device, using a tool like nmap, to verify which ports actually respond from outside versus what UFW status claims. This is the only reliable way to catch a misconfiguration, like the Docker bypass covered in Stage 5, before an attacker finds it for you.
DISCLAIMER
Educational Notice: This article is published on AI Security Watch strictly for technical educational and general cybersecurity awareness purposes. The configurations and research discussed are based on public threat intelligence data. This content does not constitute professional IT architecture, legal, or financial advice. Because network configurations vary, always verify settings in an isolated test environment or consult with a qualified engineer before modifying live hardware or registries. AI Security Watch contains informational links to external resources; we are not responsible for third-party site accuracy or platform content.